# Installing FileMage Gateway on Amazon Web Services
FileMage Gateway, a FTP and SFTP server backed by Amazon S3, is available on Amazon Web Services as a virtual machine (VM) image. This virtual machine image is fully functional upon launch and requires no additional configuration to use. However, you may need to make certain changes depending on your specific use case.
Note
When deploying a Linux image, SFTP is running on port 2222.
# Deploying the VM from the marketplace
To quickly set up FileMage Gateway on Amazon Web Services, perform the following steps.
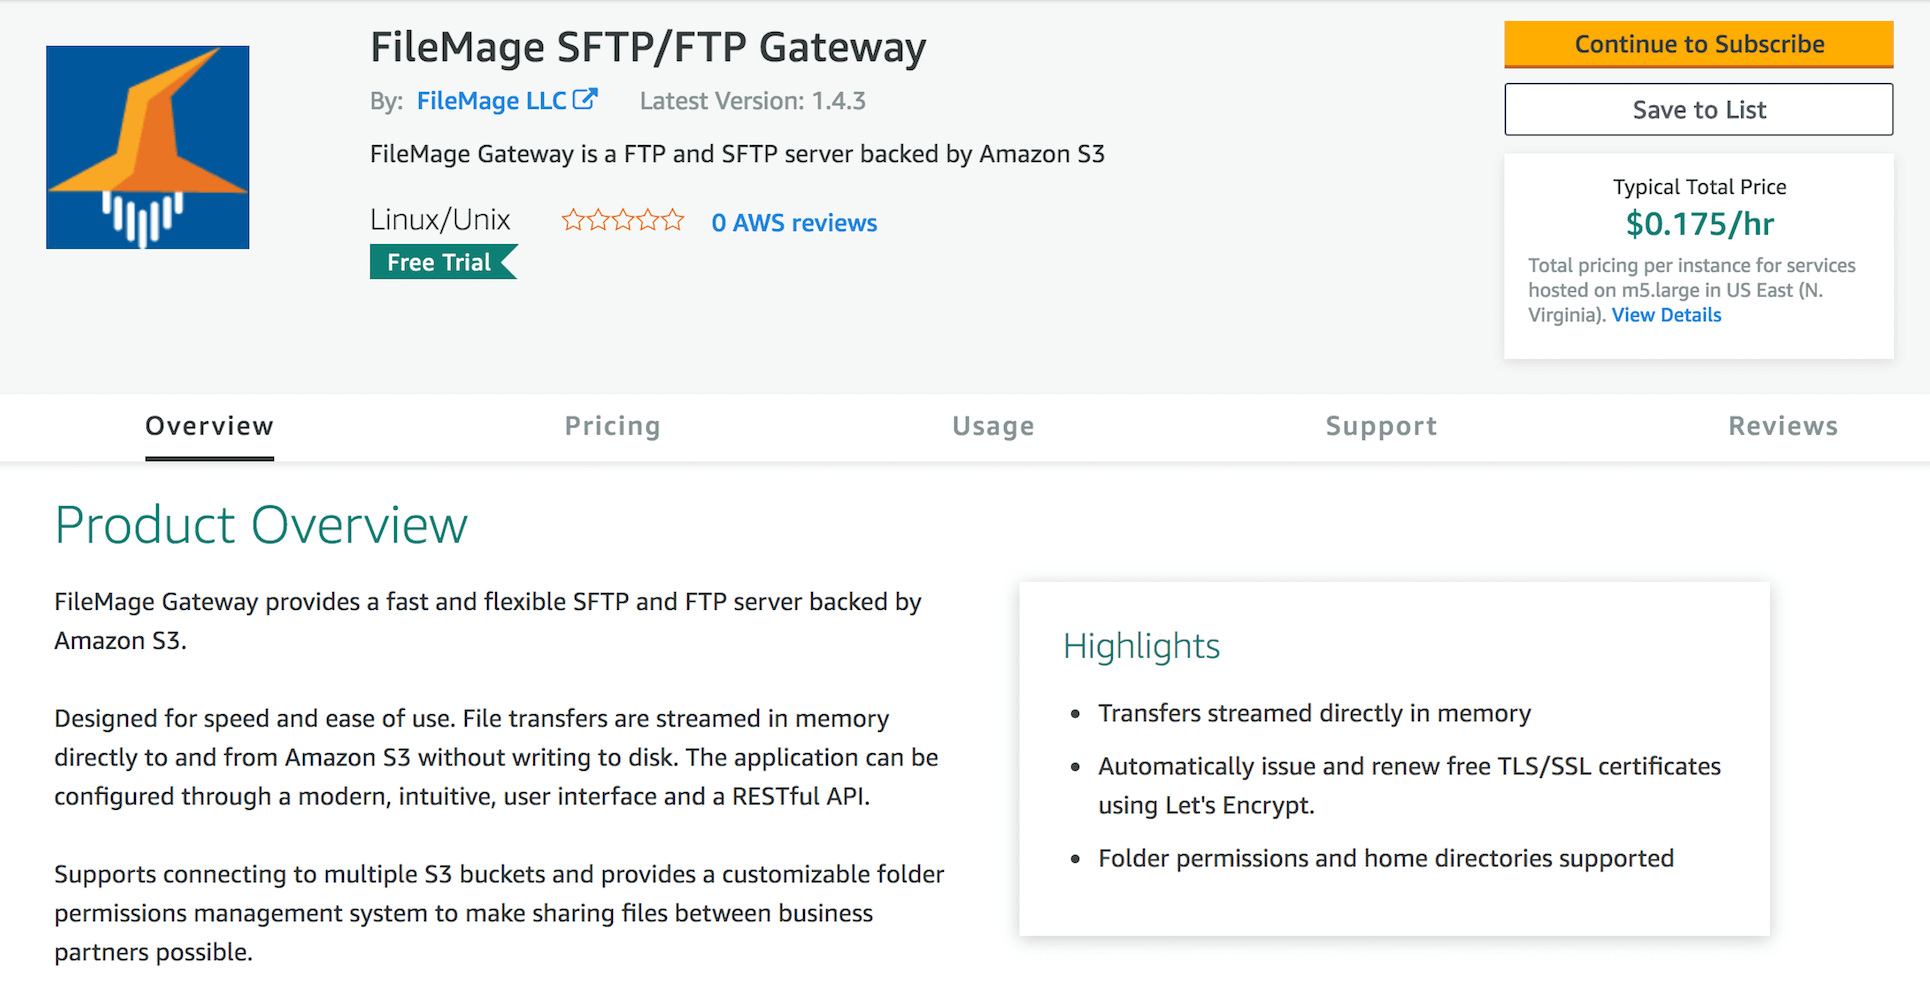
Go to the marketplace listing (opens new window) page.
Click Continue to Subscribe. You will be prompted to sign in to your AWS account if you aren't already signed in.

Review the terms and conditions, then click Continue to Configuration.
Select the region you want to deploy to in the Region drop down.
Click Continue to Launch.
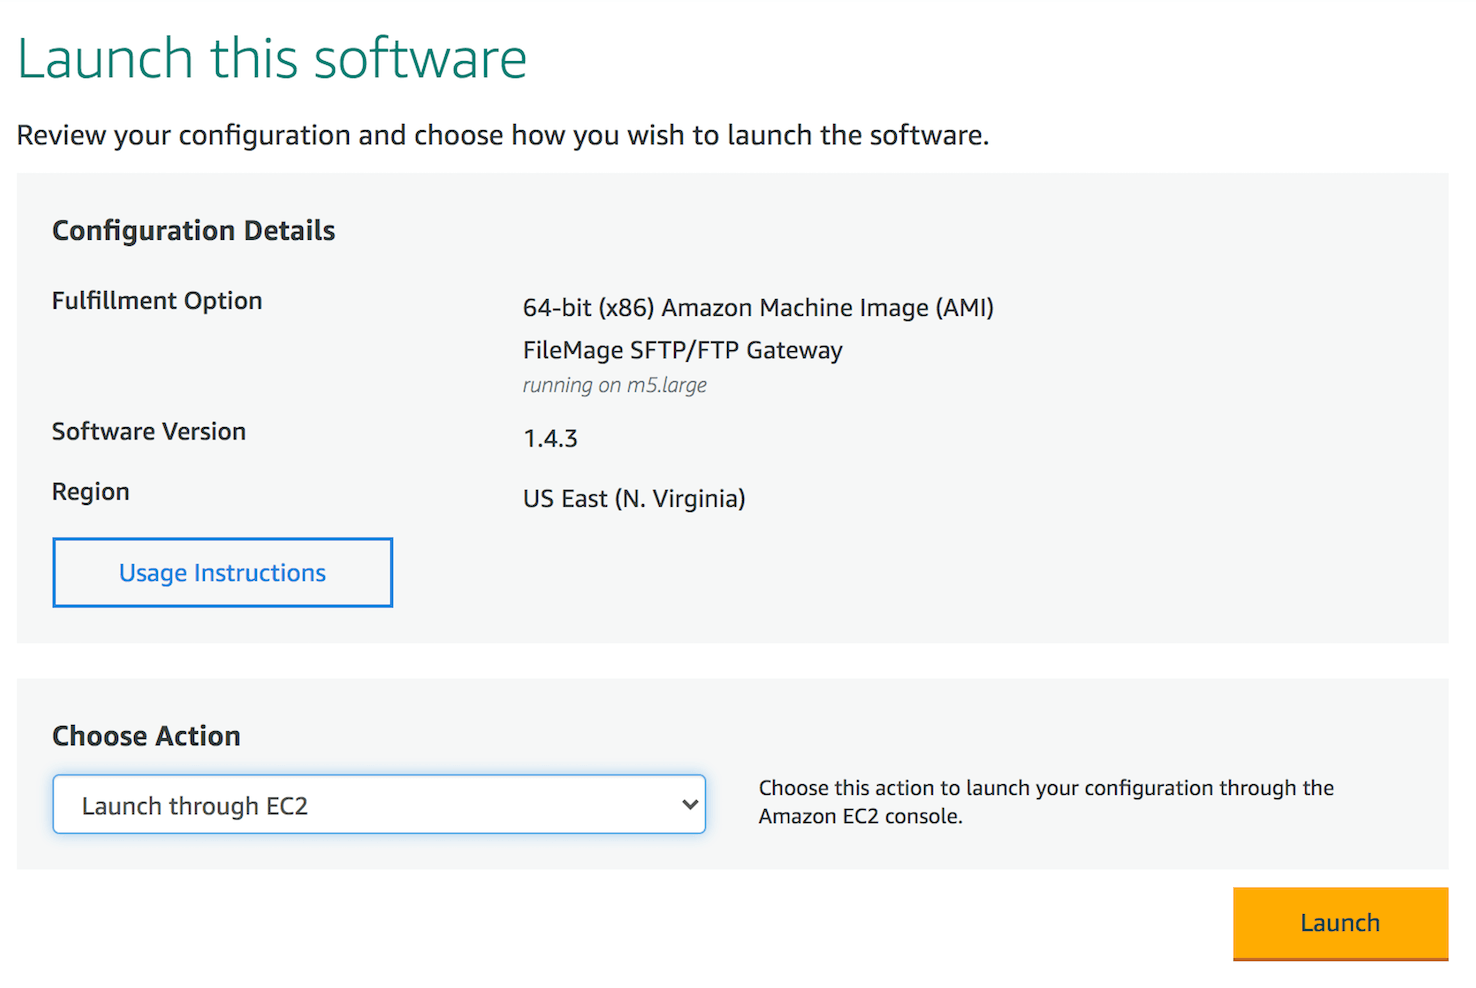
For Choose Action, select Launch through EC2.
Click Launch.

# Launch Instance Wizard
Choose an instance size, then click Next.
Configure your network settings.
We recommend attaching a IAM role with the following IAM policy.
{
    "Version": "2012-10-17",
    "Statement": [
        {
            "Effect": "Allow",
            "Action": [
                "s3:ListBucket",
                "s3:GetBucketLocation"
            ],
            "Resource": [
                "arn:aws:s3:::example-bucket"
            ]
        },
        {
            "Effect": "Allow",
            "Action": [
                "s3:GetObject",
                "s3:PutObject",
                "s3:DeleteObject",
                "s3:AbortMultipartUpload",
                "s3:PutObjectTagging",
                "S3:GetObjectTagging"
            ],
            "Resource": [
                "arn:aws:s3:::example-bucket/*"
            ]
        }
    ]
}
Click Next.
Configure your storage options. For most scenarios, you may leave the default minimum. File data is never written to disk. Significant disk space usage comes only from the audit log. On average, each 1 million audit events stored will consume 1gb of disk space.
Click Next.
Add tags as needed.
Click Next.
Select Create a new security group, then customize security group settings as needed.
| Description | Ports |
|---|---|
| OS SSH | 22 |
| Web Portal | 80, 443 |
| SFTP | 2222 |
| FTP Command | 21 |
| FTP Passive | 32768-60999 |
Note
To use SFTP in Linux on port 22 sshd must be reconfigured to use a different port.
Restrict Administrative Ports
It is strongly recommended that you restrict access to the web portal (80, 443) and SSH (22) to trusted IP ranges.
Click Review and Launch.
Review your settings and click and Launch.