# Users
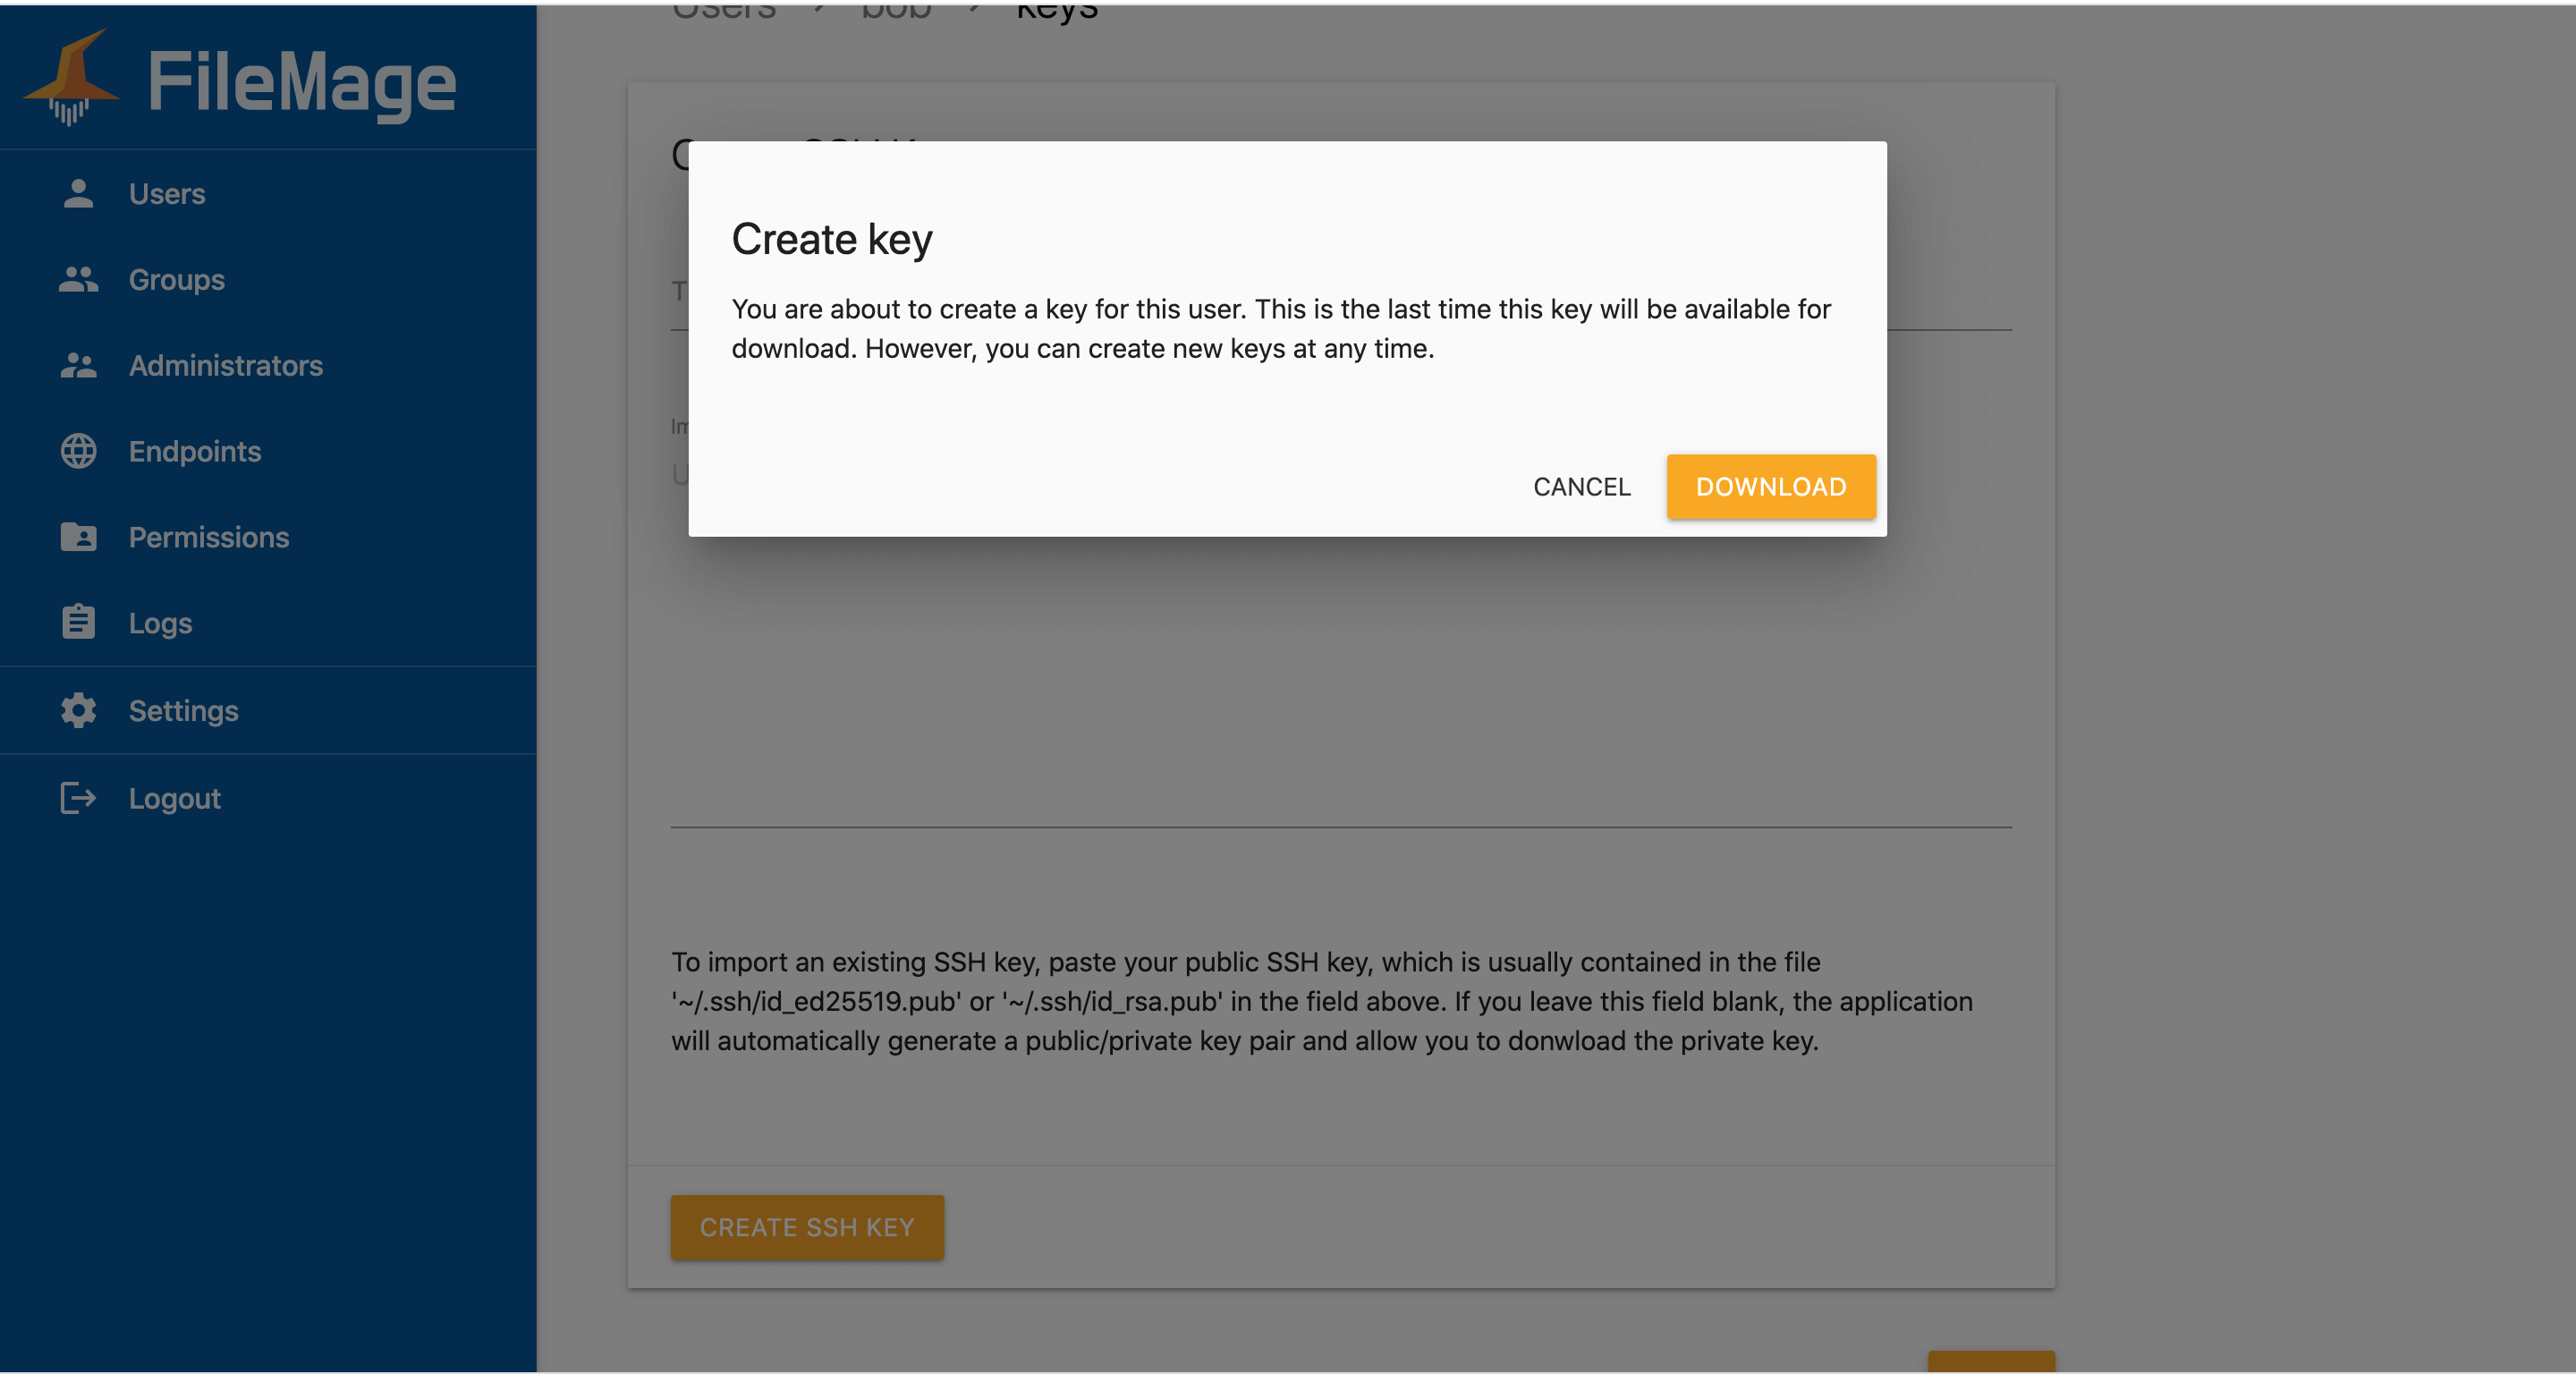
Users represent a FTP and SFTP login accounts and associated settings. SFTP users may authenticate using SSH keys or passwords. Each user may be assigned to a different storage endpoint. Users can be restricted to home directories, and additional folder permissions can be specified for each user. User logins can be restricted by client IP address.
# Configuring Users
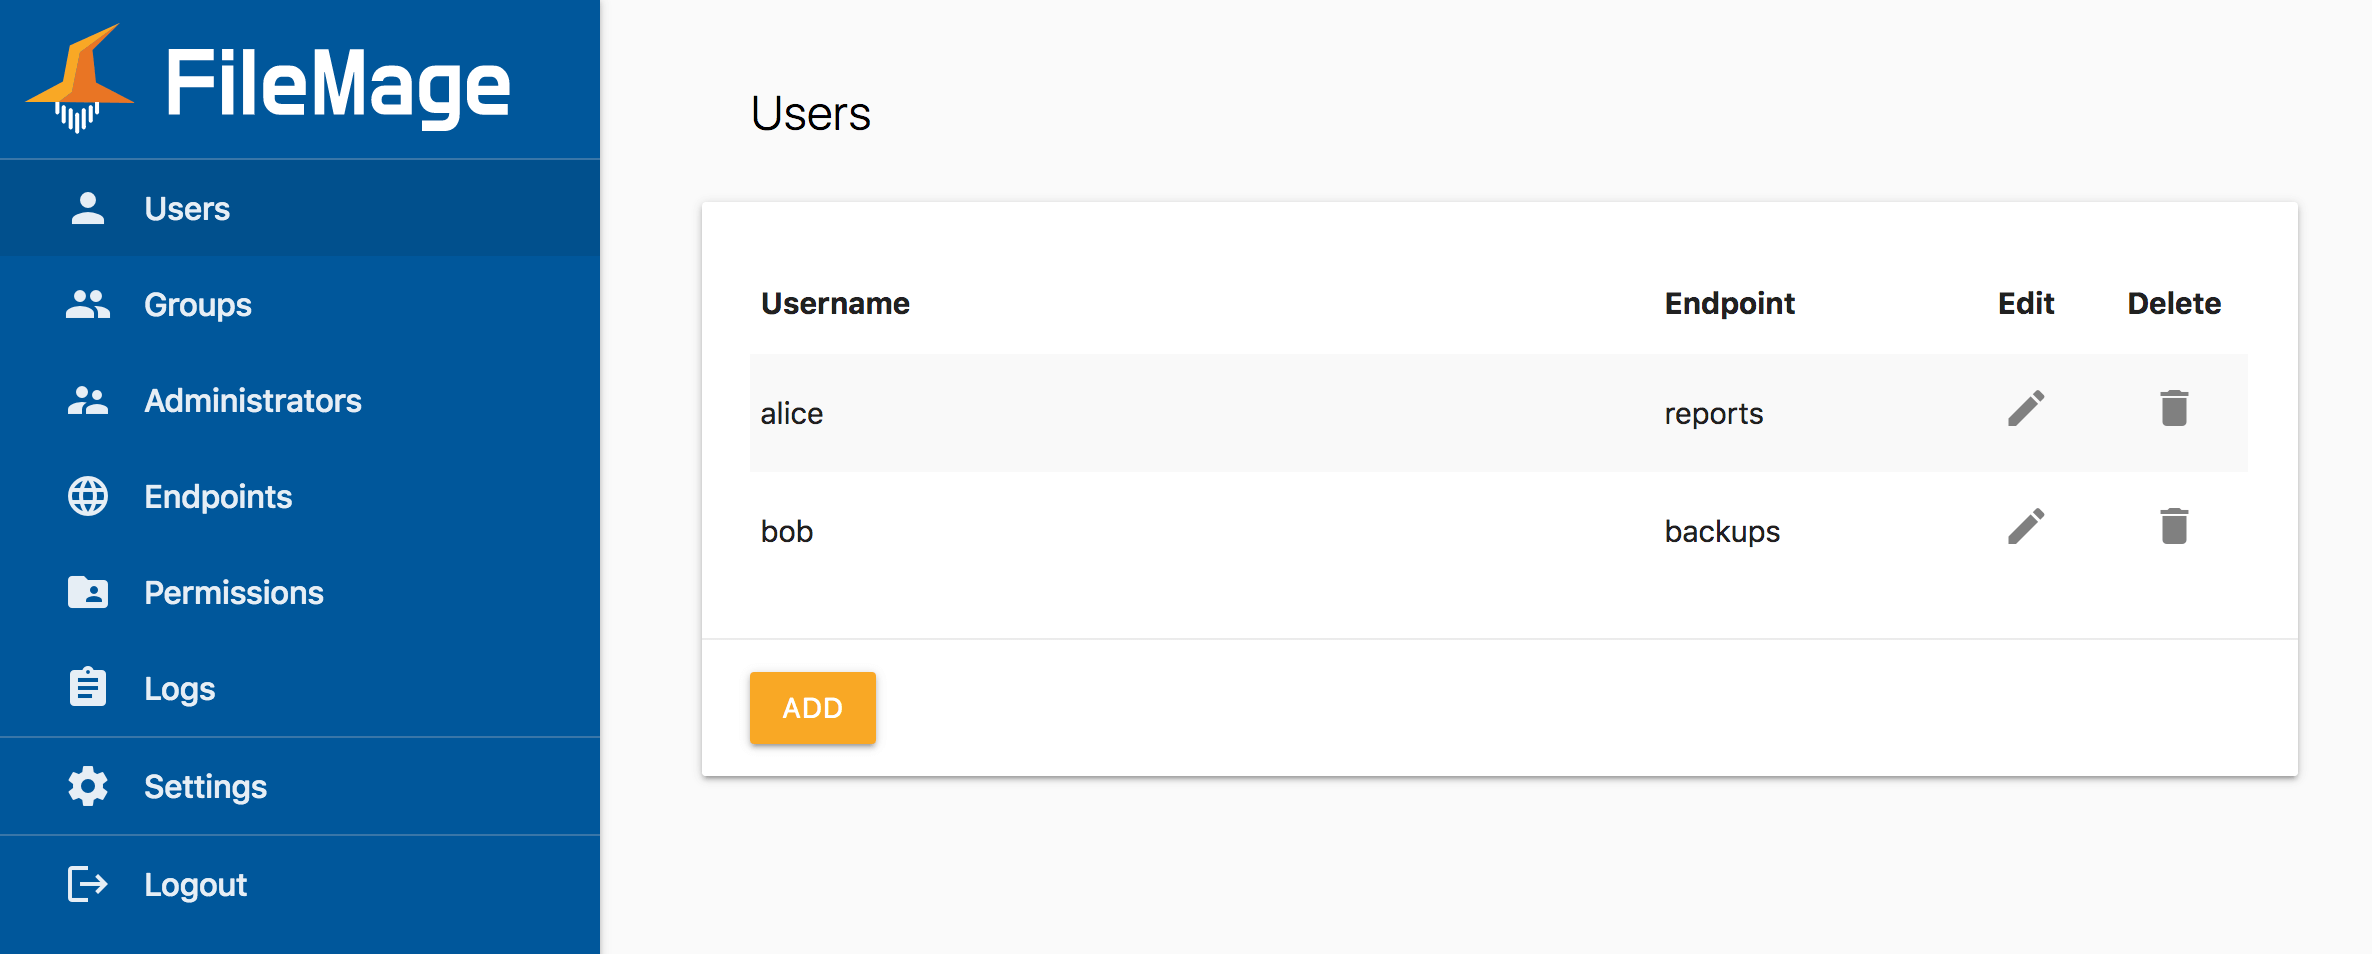
To add a new user:
- Click Users in the sidebar.
- Click the Add button.
- Enter your desired settings, then click Save.
To modify an existing user:
- Click Users in the sidebar.
- Click on the Edit icon.
- Enter your desired settings, then click Save.
To delete a user:
- Click Users in the sidebar.
- Click on the Delete icon.
- Click Confirm on the popup.
Warning
Deleting a user will delete all SSH keys created for the user.
# Authentication
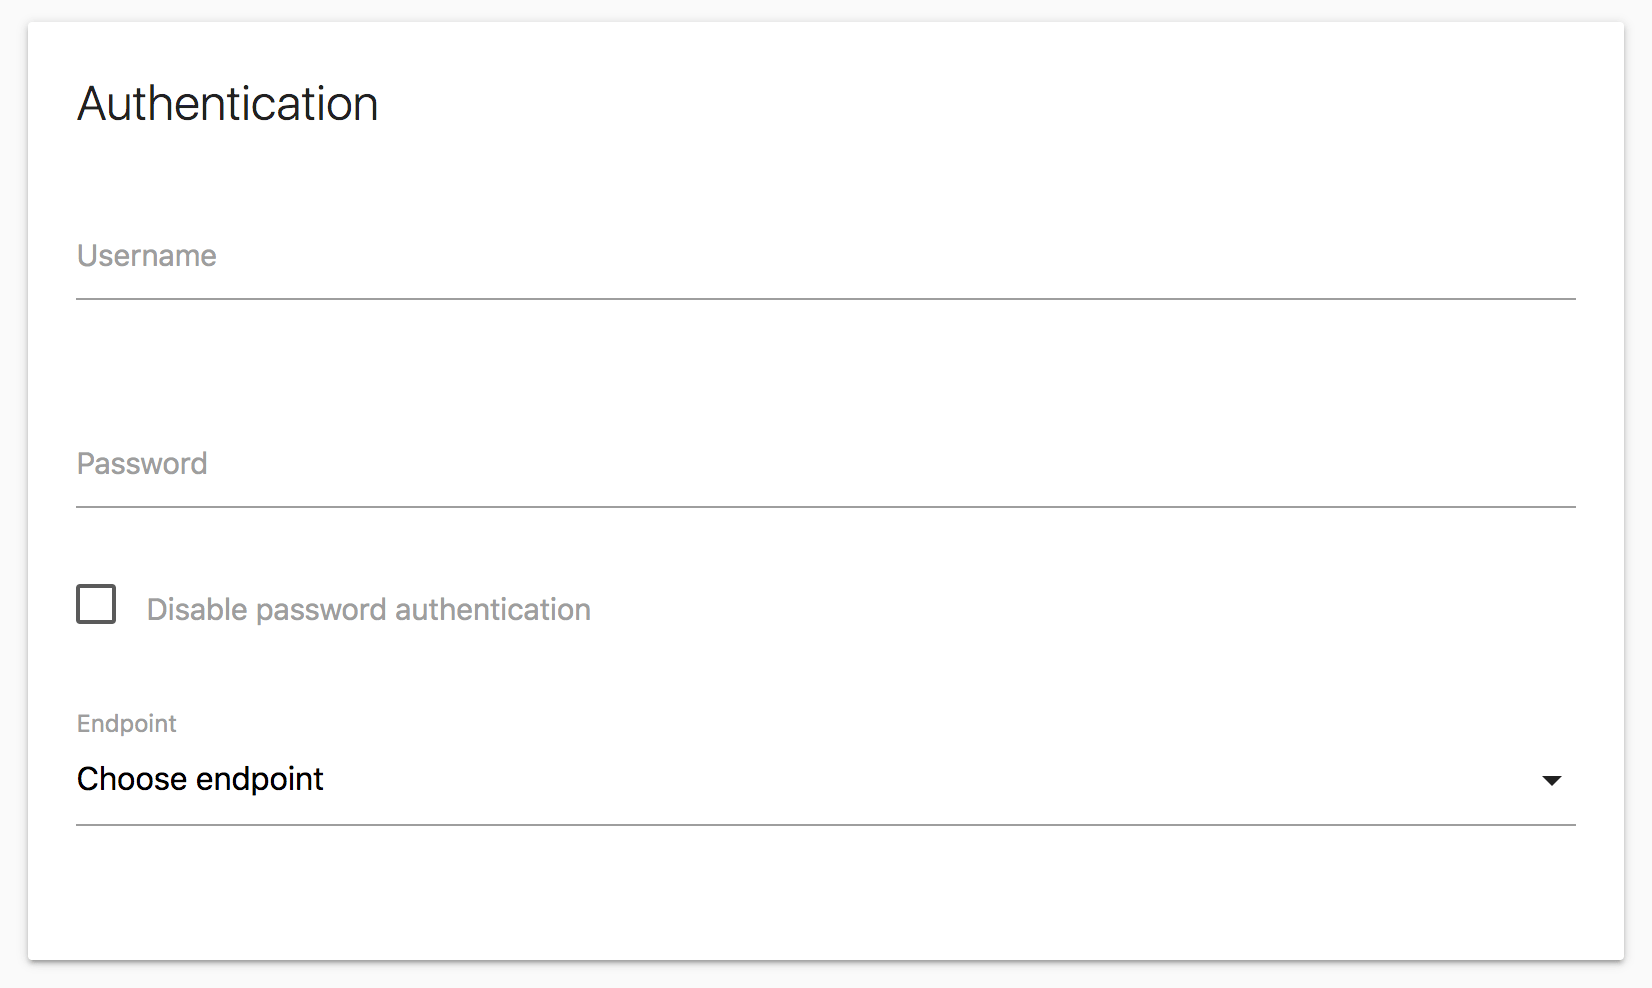
Enter a username. Usernames must be unique and may not be blank.
You must either enter a password or check the option to disable password authentication to limit the user to SSH key authentication only.
Select a storage endpoint for the user to connect to. Each user may only connect to one storage endpoint. If you haven't created a storage endpoint you must do so before creating users.
Note
The FTP protocol only supports password authentication.
# Home Directory
You may select a home directory for the user. When the user logs in, this directory path will appear as the root of the users account. The user will not be able to access files above this path.
The default permission level for the home directory is Full, applied recursively. You may change this level, or apply more restrictive permissions on sub-folders using the Additional Permissions settings.
To specify a home directory:
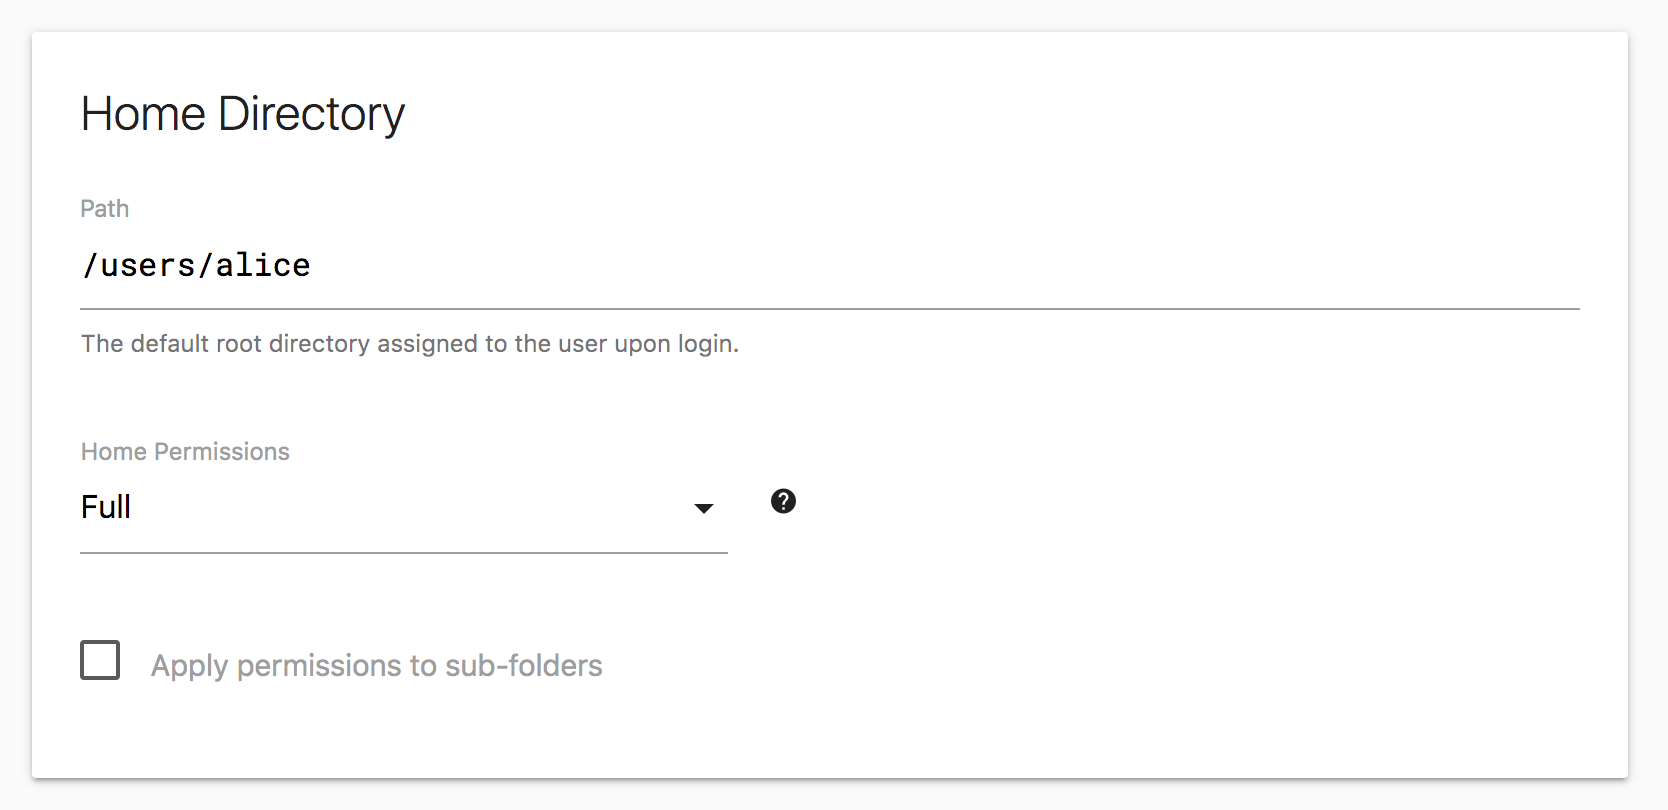
- Enter the full path of the folder you want to restrict the user to in the Path field.
- Select a permission level in the Home Permissions dropdown.
- Uncheck Apply permissions to sub-folders if you want to prevent to user from accessing sub-folders.
See Folder Permissions for more information about how folder permissions work.
# Additional Folder Permissions
To add a folder permission:
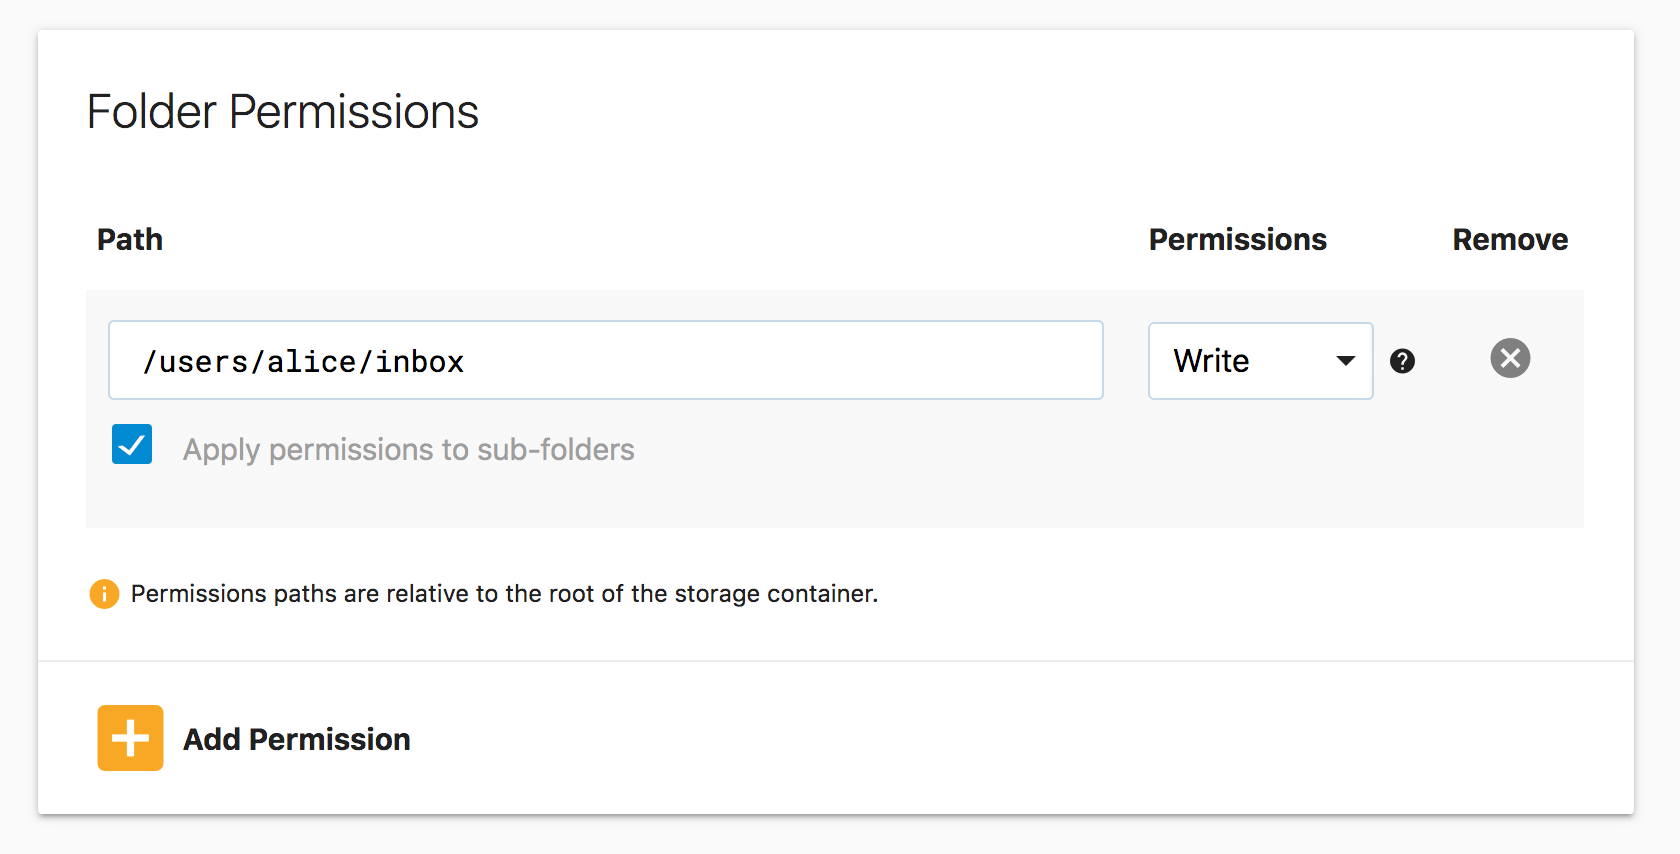
- Click Add Permission to add a new permission entry for the user.
- In the Folder Path field, enter the full path of the folder you want to apply the permission to.
- In the Permissions drop down, select the permission level you want to assign to this folder.
Note
Folder paths are relative to the root of the storage container, not the users home directory.
To remove a folder permission:
- Click the Remove icon on the permission you want to remove.
See Folder Permissions for more information about how folder permissions work.
Note
Only folder permissions granted to the user are listed in the user settings page. Group permissions applied to any groups that the user is a member of are not displayed in the user setting page.
# Whitelisted IP Ranges
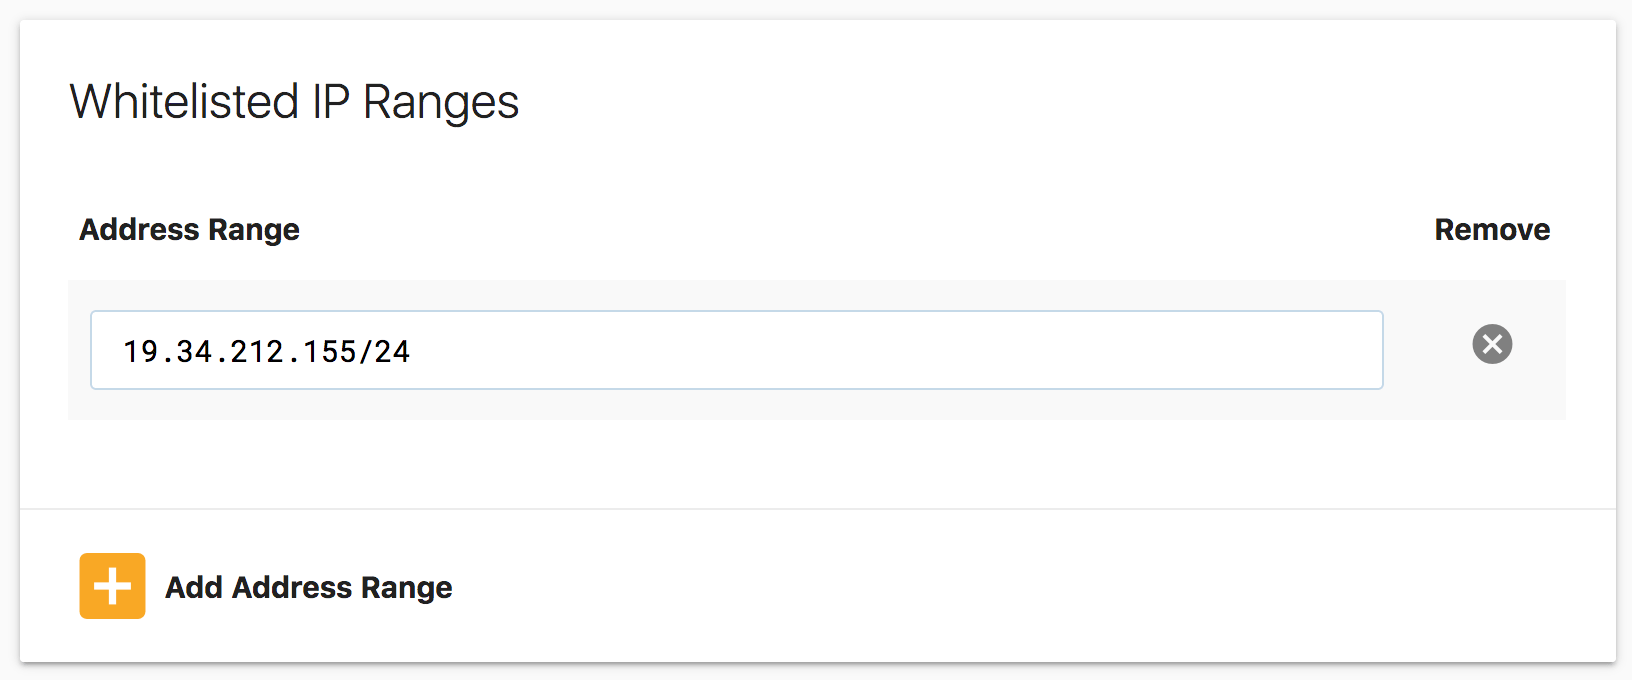
IP whitelisting allows you to limit the IP address specific users are allowed to connect from. When no IP ranges are whitelisted, all connections are allowed. When one or more IP ranges are defined, only connections from those IP ranges will be allowed.
To add a whitelisted IP address range:
- Click Add Address Range to add a new whitelisted IP address range.
- In the Address Range field, enter a IP address range in IPv4 or IPv6 CIDR notation.
To remove a whitelisted IP address range:
- Click the Remove icon on the IP address range you want to remove.
# Configuring SFTP Public Key Authentication
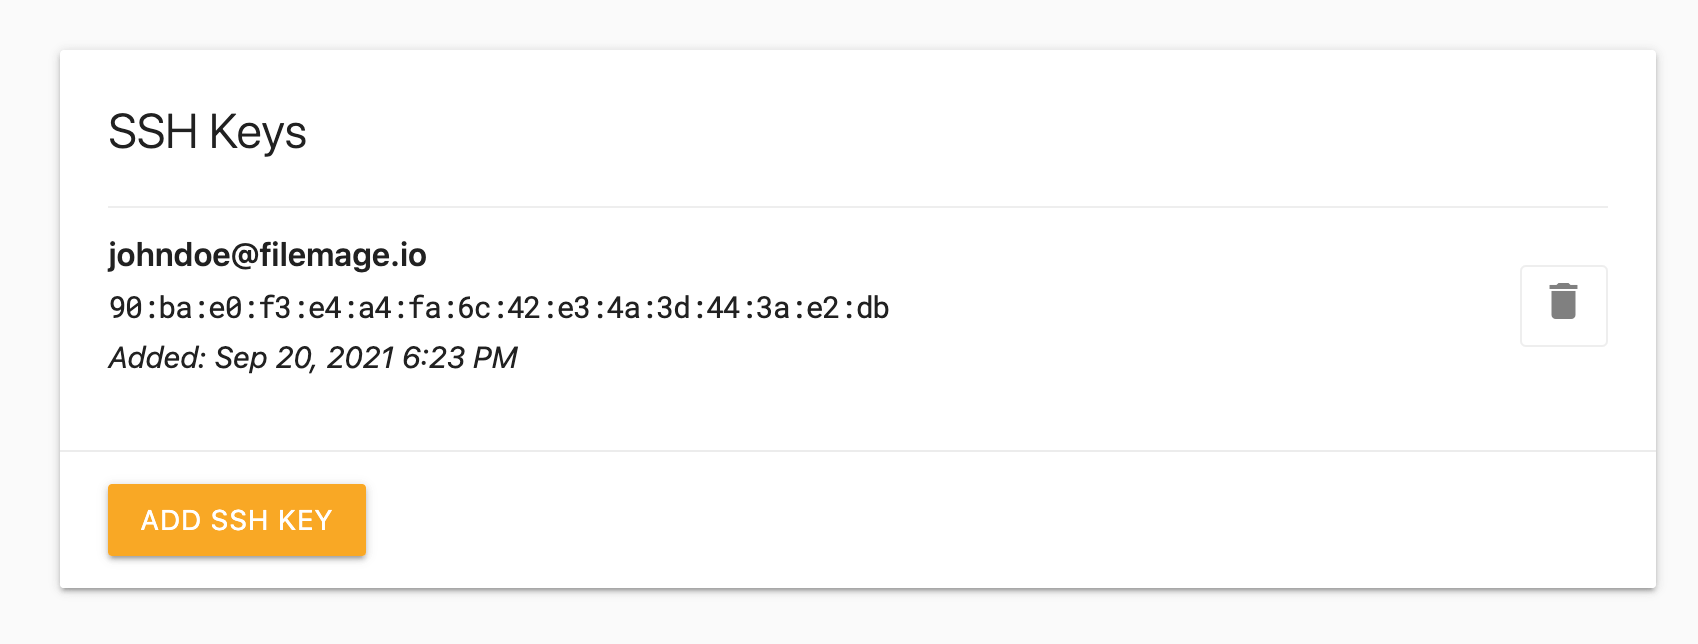
SSH keys can only be configured after the user has been created, on the edit user page. If you are adding a new user, click Save, then scroll down to the Keys section. The Fingerprint field lists the MD5 finger of each existing key for the user.
# Importing a SSH Key
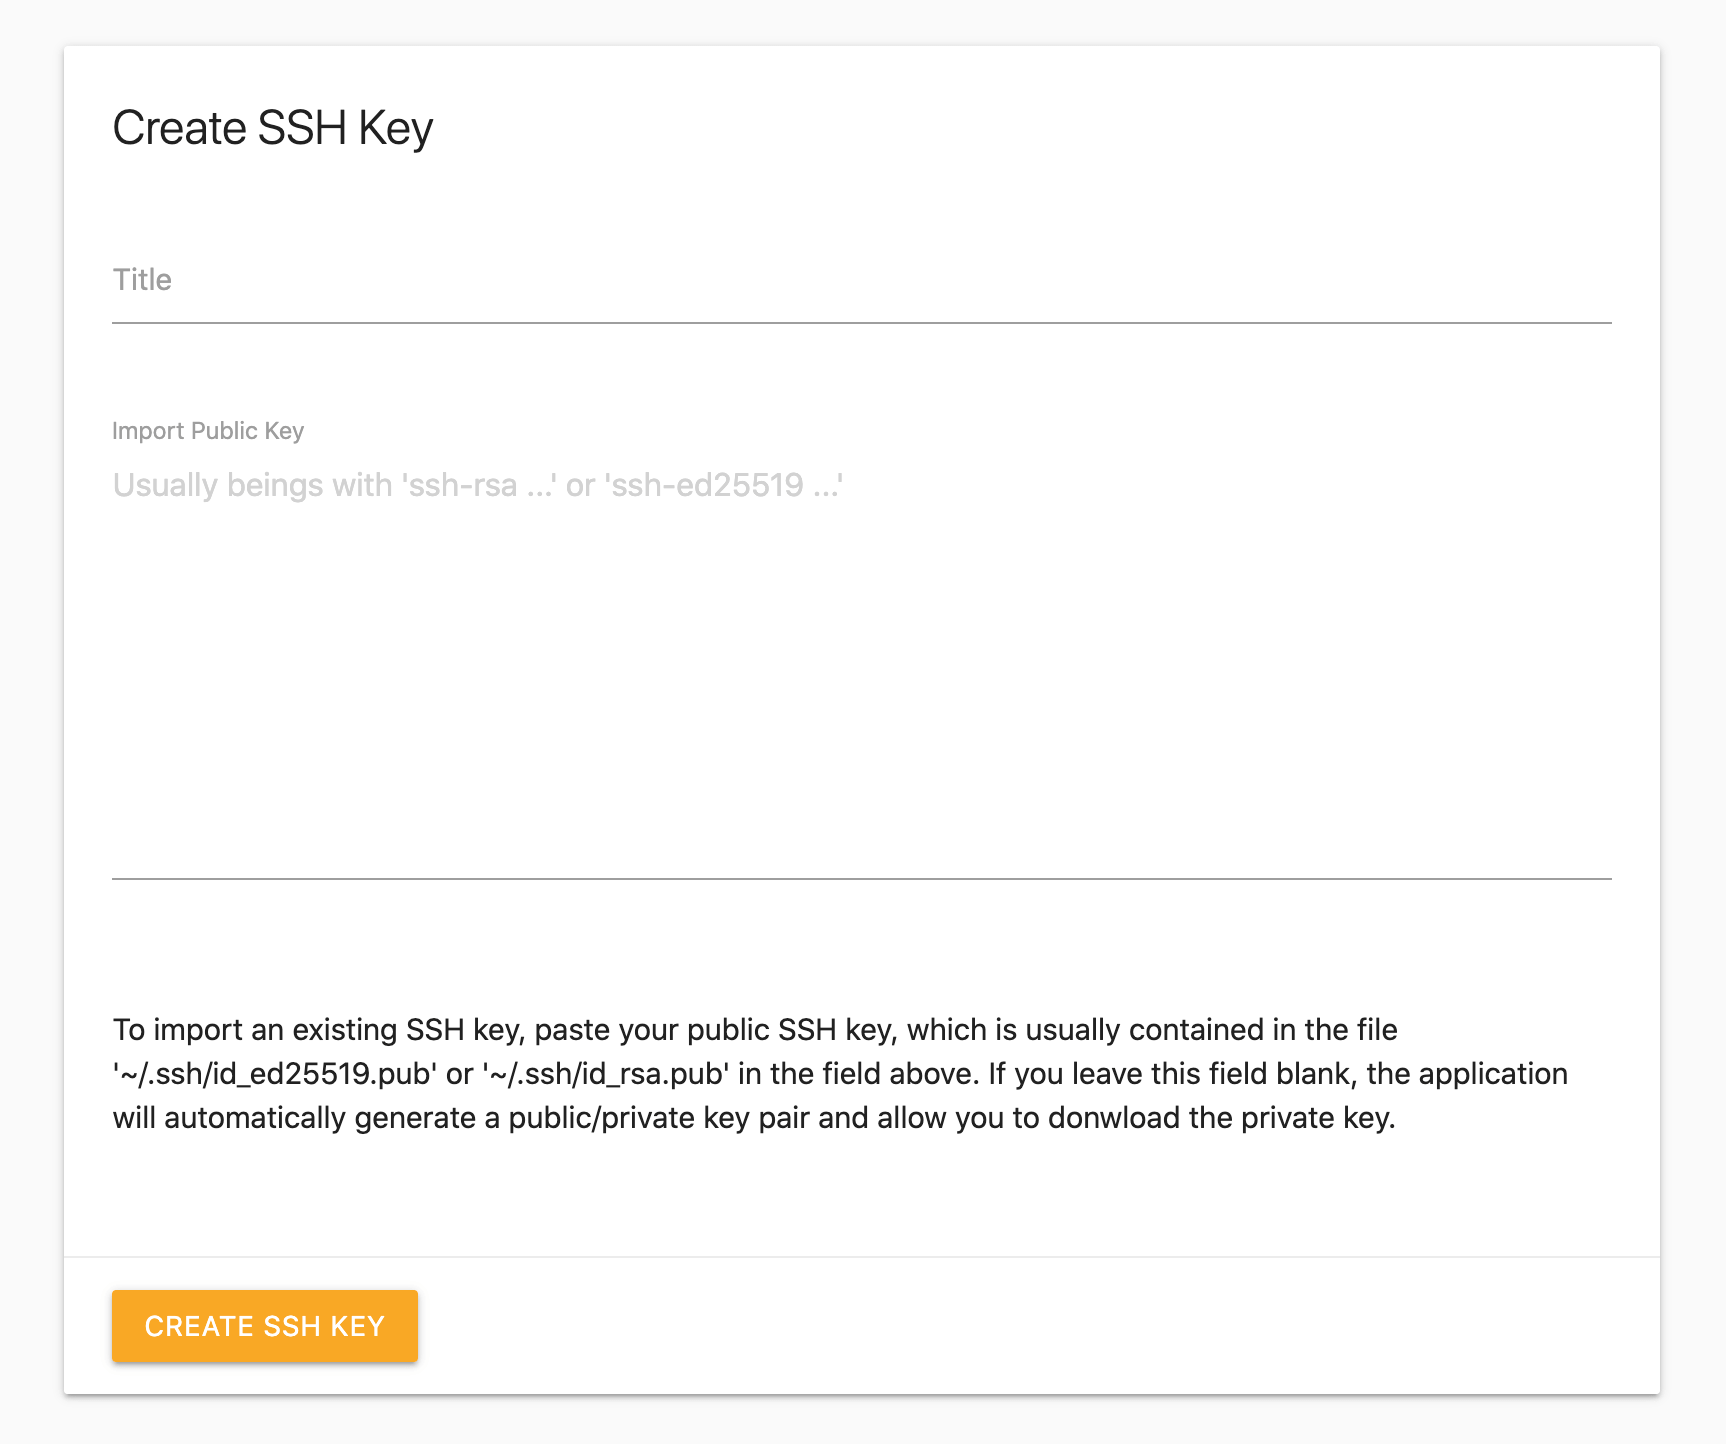
- Click Add SSH Key in the Keys section to go to the new key page.
- In the Import Key Data text field, paste your public SSH key contents.
- Optionally add a title in the Title field.
- Click Create SSH Key.
Note
Public keys must be in OpenSSH format. If your key is in SSH2 format, convert it using the command ssh-keygen -i -f ssh2.pub > openssh.pub
# Creating a SSH Key
The application can create a key pair for you. The public key will be stored in the application database. The private key will be available for download only at the time of creation.
- Click Add SSH Key in the Keys section to go to the new key page.
- Leave the Import Key Data text field blank.
- Optionally add a title in the Title field.
- Click Create SSH Key.
- Click Download on the popup.
- Store the private key safely. You will not be able to download it again.
