# Installing FileMage Gateway on the Google Cloud Platform
FileMage Gateway, a FTP and SFTP server backed by Google Cloud Storage, is available on Google Cloud Platform as a virtual machine (VM) image. This virtual machine image is fully functional upon launch and requires no additional configuration to use. However, you may need to make certain changes depending on your specific use case.
Note
When deploying a Linux image, SFTP is running on port 2222.
# Deploying the VM from the marketplace
To deploy FileMage Gateway on Google Cloud Platform, perform the following steps.
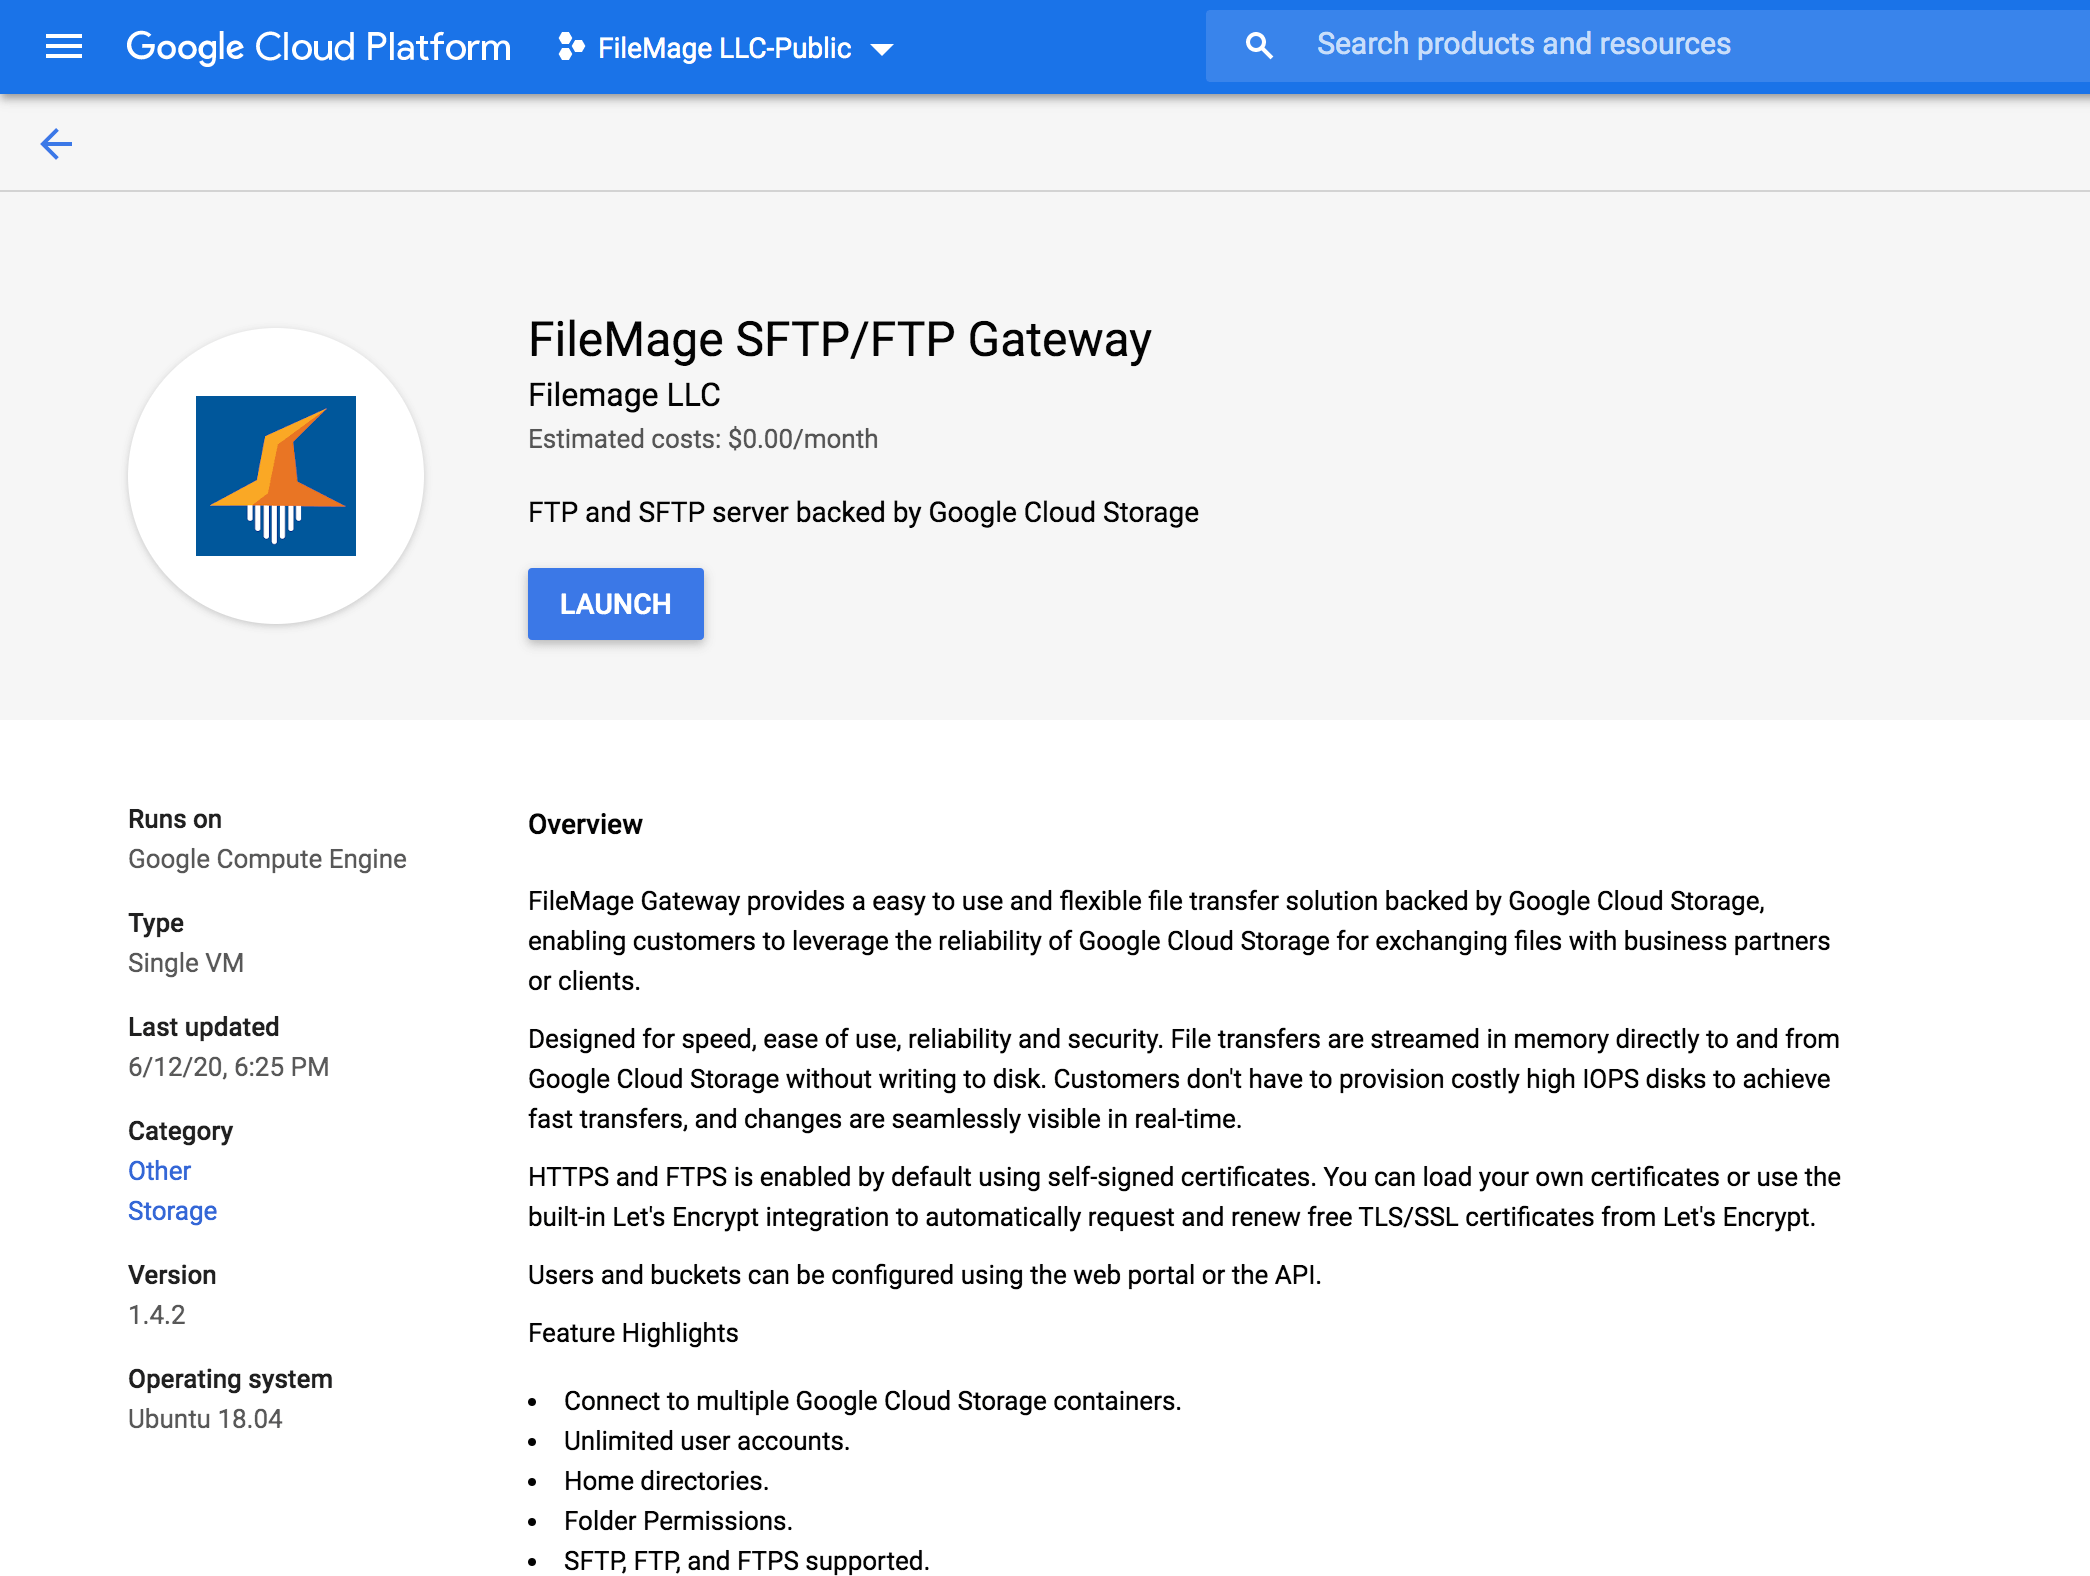
- Access the FileMage Gateway listing in Google Marketplace (opens new window) and click the Launch button.
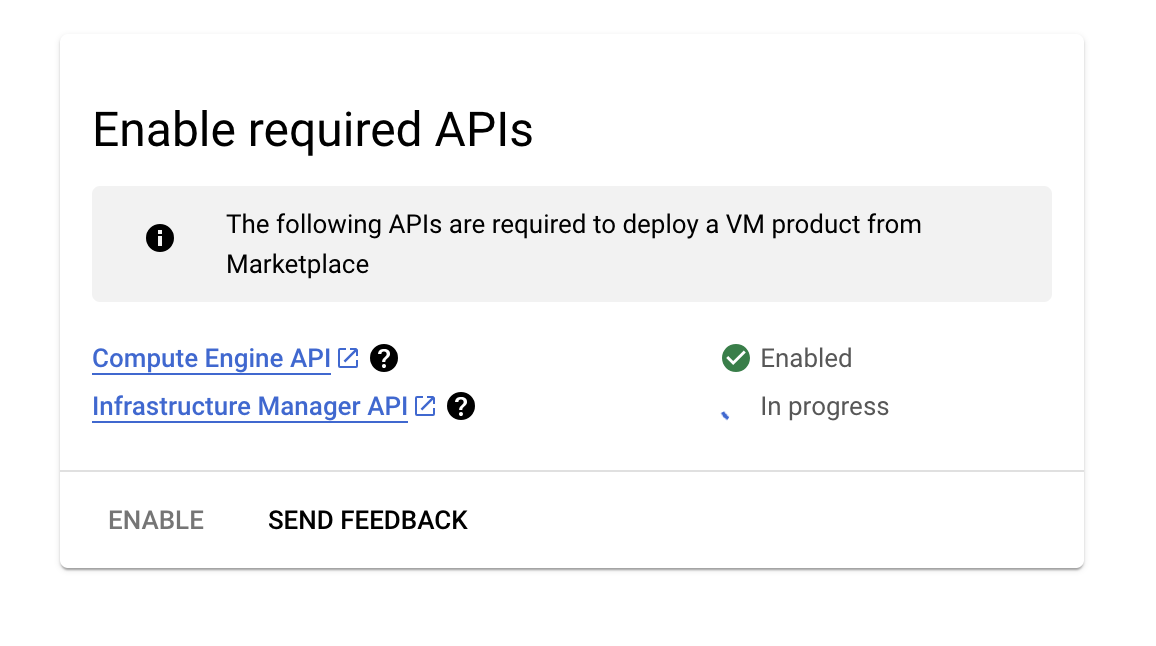
- All Google Cloud Marketplace deployments now use Infrastructure Manager (opens new window). The first time you use this service you will be prompted to enabled its API in your project.
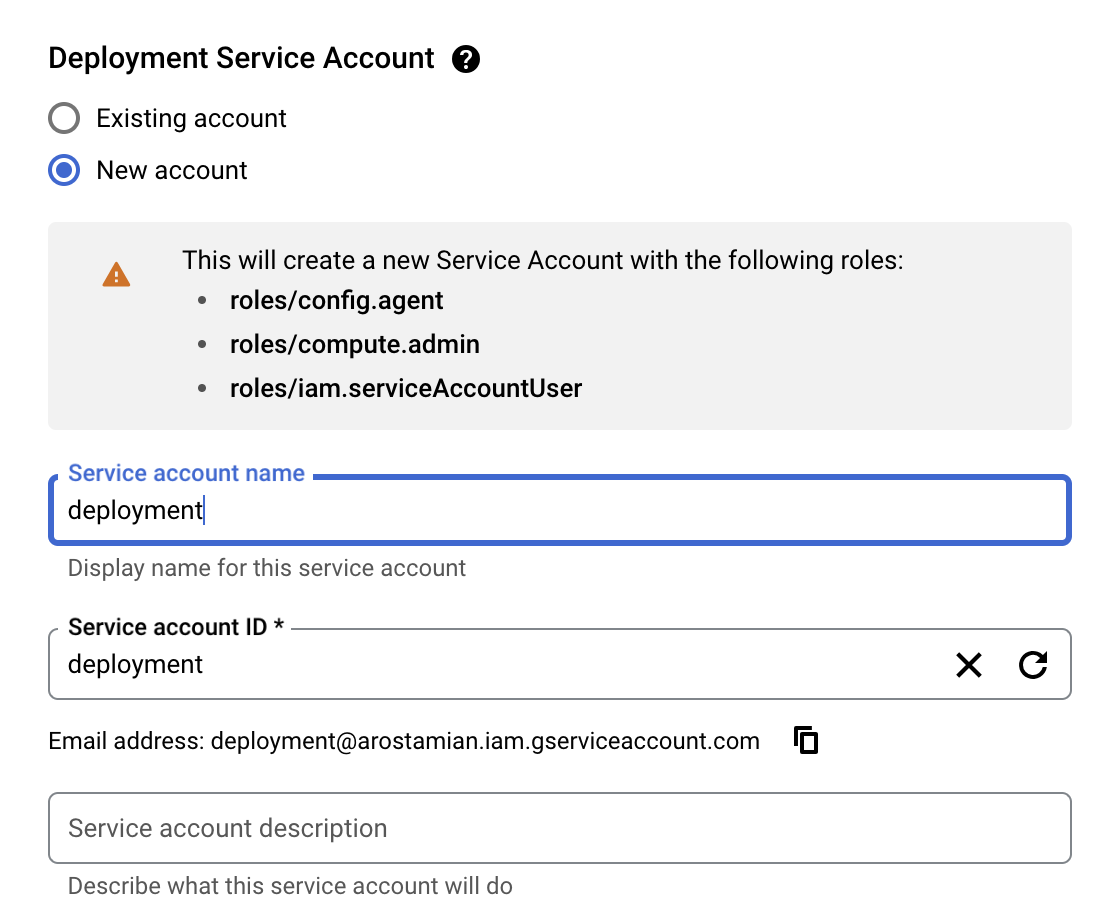
- If this is the first time you deploy a product using Infrastructure Manager you will be required to create a service account with the neccesary permissions to do deploy the resources. If an suitable service account already exists you can reuse it.
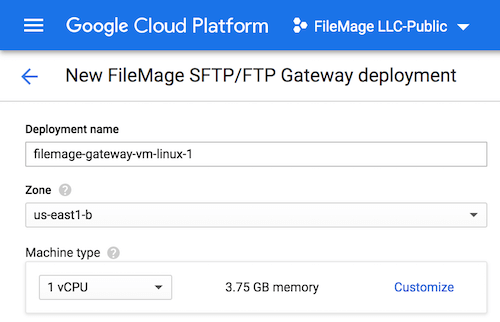
- Enter or select appropriate values for Deployment Name, Zone and Machine Type.
- Enter an email address to be used for the initial administrator account. This account will be automatically created during the deployment process.

Initial login
After the deployment is complete you will be given a randomly generated one-time use password to complete your initial login.
- Select a Boot disk type and Boot disk size in GB. For most scenarios, you may leave the default minimum. File data is never written to disk.
- Add CIDR restrictions on relevant ports based on your use-case.
| Description | Ports |
|---|---|
| OS SSH | 22 |
| Web Portal | 80, 443 |
| SFTP | 2222 |
| FTP Command | 21 |
| FTP Passive | 32768-60999 |
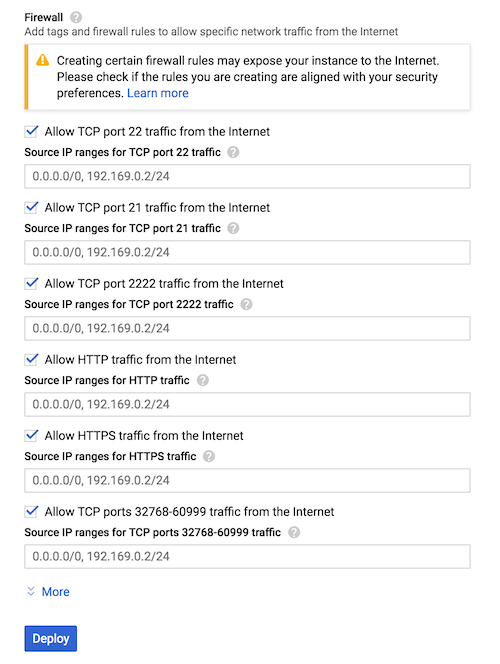
Note
To use SFTP in Linux on port 22 sshd must be reconfigured to use a different port.
Restrict Administrative Ports
It is strongly recommended that you restrict access to the web portal (80, 443) and SSH (22) to trusted IP ranges.
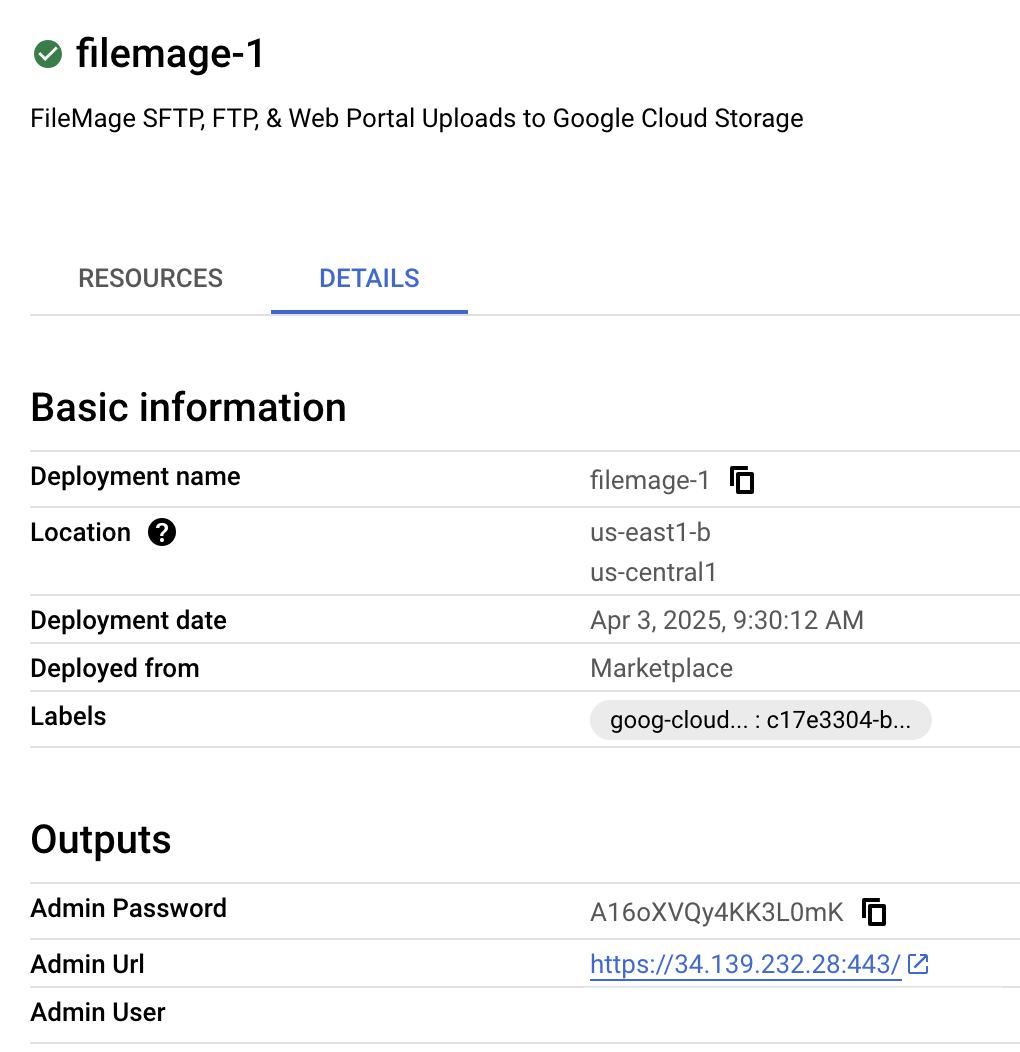
- Click Deploy. Wait a few minutes for the deployment to complete. Once deployment is complete click on Details. Under Outputs, note the generated Admin Password value. Click on the link for Admin Url to open the management portal. If the site cannot be reached the application may still be starting up.
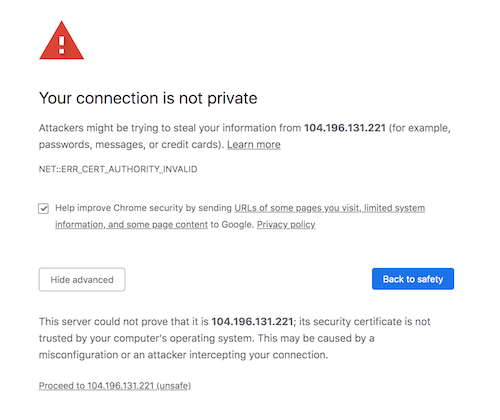
- Accept the self-signed certificate to proceed, or see Encryption and Certificates for instructions on how to install a signed certificate.
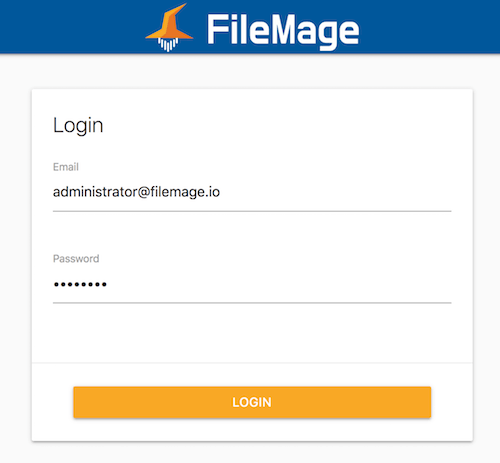
- Enter your Administrator email and Administrator password and click Login.
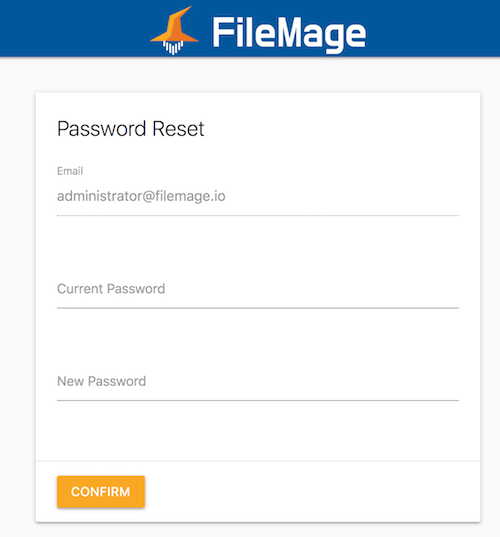
- You must change the auto-generated password. Enter the Administrator password again and provide a new password, then click Confirm.
# Configuring Permissions
The deployed VM must be associated with a service account which has the following assigned permissions:
storage.objects.create
storage.objects.delete
storage.objects.get
storage.objects.list
storage.objects.update
storage.objects.create
storage.multipartUploads.abort
storage.multipartUploads.create
storage.multipartUploads.listParts
These permissions can be assigned using the role Storage Object Admin.
By default, the VM will be associated with the Compute Engine default service account.
If you plan on using the workspace portal with a VM instance service account, you must also add the Service Account Token Creator role.
Note
To grant the instance write access to the Google Cloud Storage API the Storage Cloud API access scope (opens new window) must be set to Read Write.